Ok ok – panelling – it’s literally my favourite thing and it’s something my husband actually likes doing ! Woop
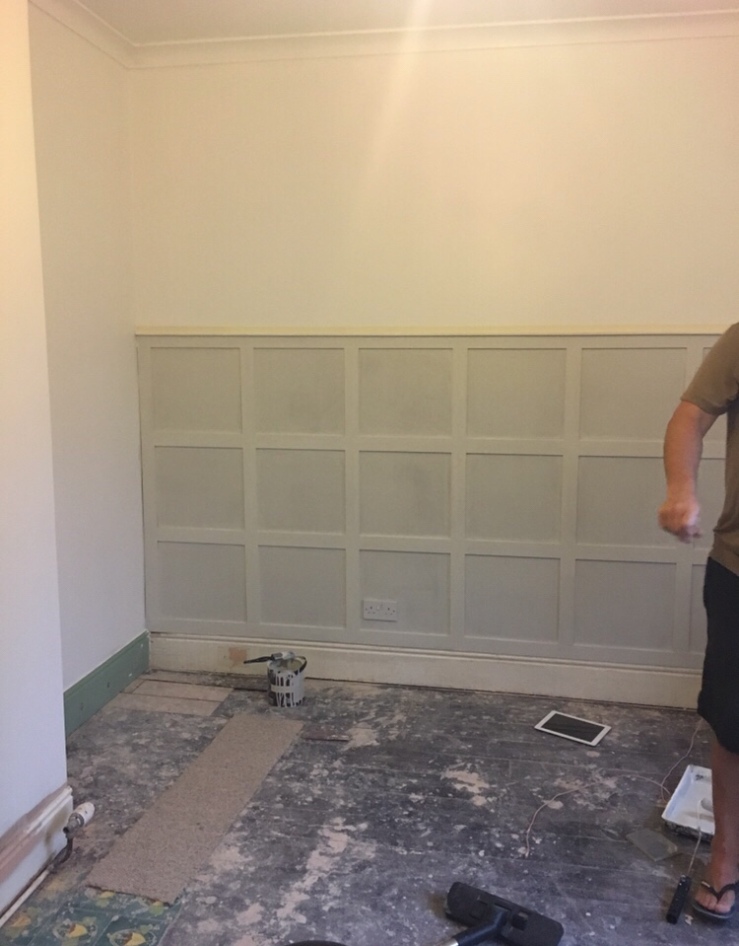
But the thing I most love about it is its cost !  this wall for example in my sons newly decorated room –
Was a total cost of ……. wait for it
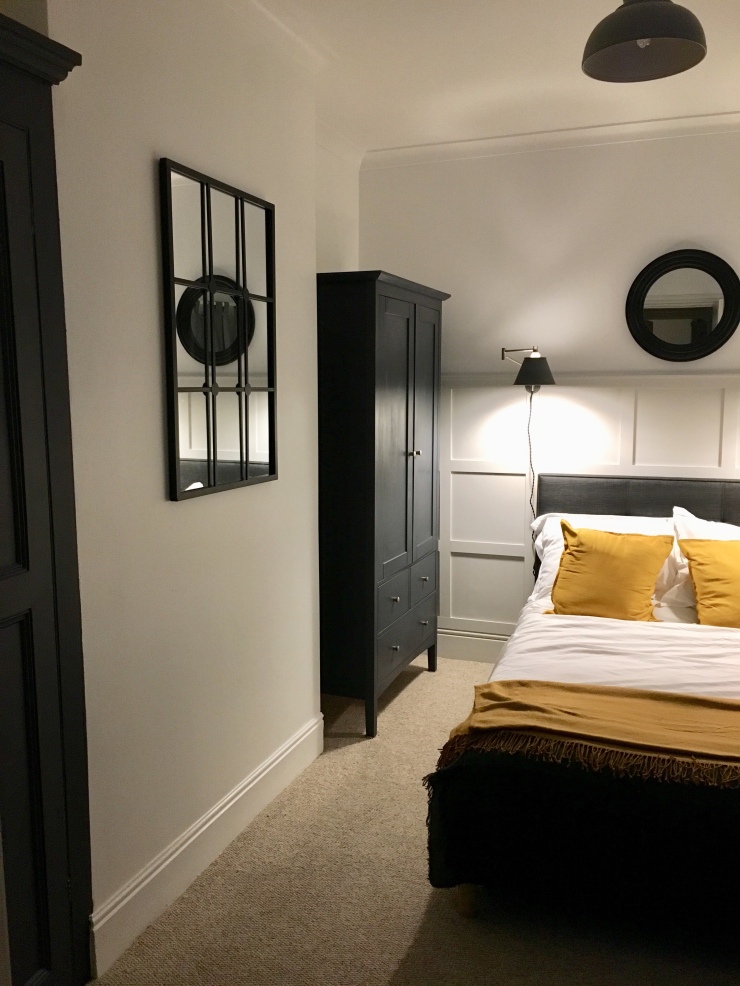
£18!!
It totally transforms a room, for £18! I am a plain girl, who is a typical libra – can’t decide on things and then instantly go off them when I do so panelling felt like a great option for me. It is noticeable but not in your face, it’s classy and the colour can be changed as and when – it’s a win win!
Instagram is basically to blame for my love of panelling – I first saw it on one of the accounts I followed and love – @31thesquare and it was then I realised that it is basically strips of wood stuck to the wall! I mean how easy is that! A classy addition to a room that is as easy as sticking wood to the wall!
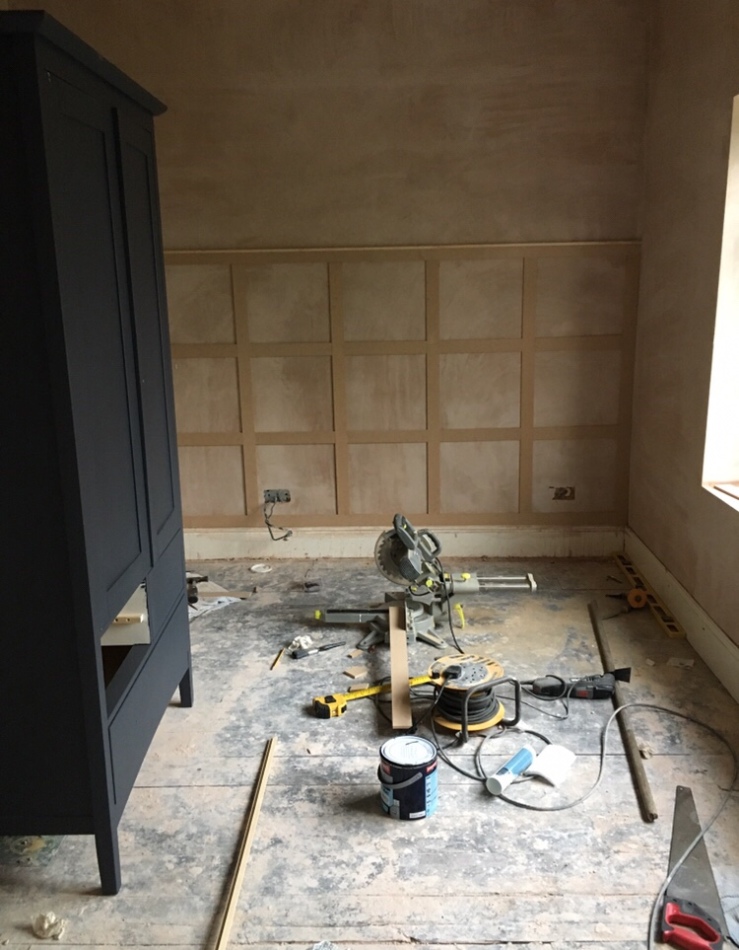
Once you have worked out the bit of wall you want to panel, worked out how many squares you want and the size etc (it really is personal preference ) you are good to go! There is no right or wrong way to do it – large squares, small squares, stripes 🤷♀️
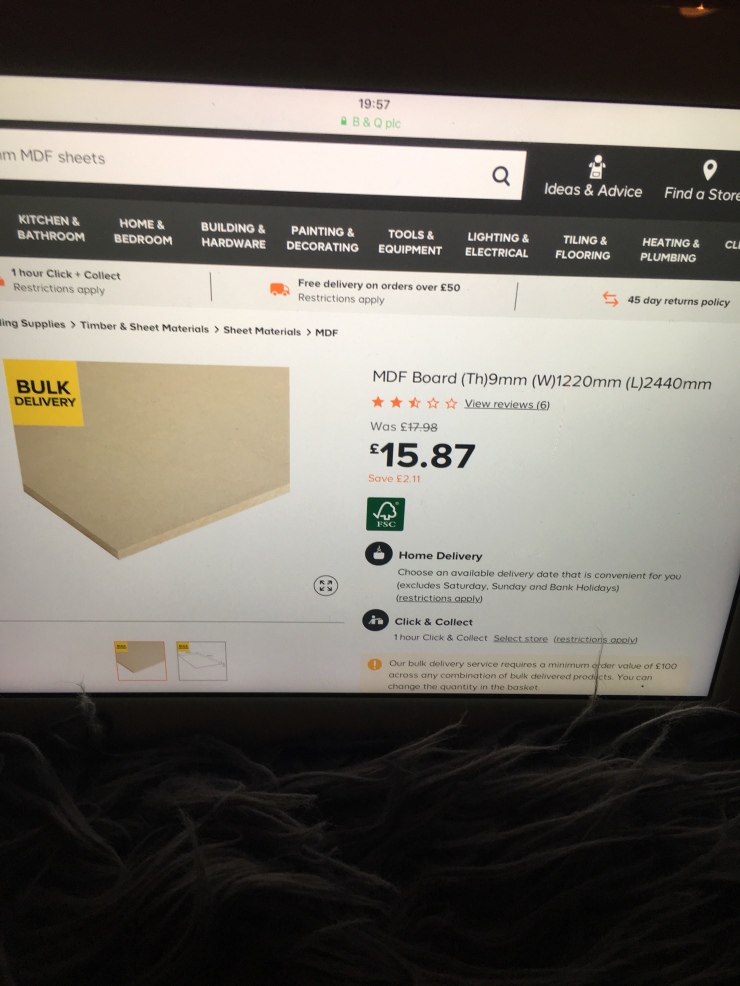
We bought our mdf from B&Q – see picture below – and we decided to use a 60mm strip width – they provide a service to cut the mdf for you – which is great and the first 15 cuts are free
Tools needed
Tape measure
Spirit level
Hammer
Mitre saw
Nails (1inch oval)
Adhesive (b&q solvent free grab adhesive )
Sandpaper – fine
Quadrant/moulding for the top
Wood filler
Nail punch
Emulsion
The first thing you do is stick the strips on the wall in stripes using the grab adhesive
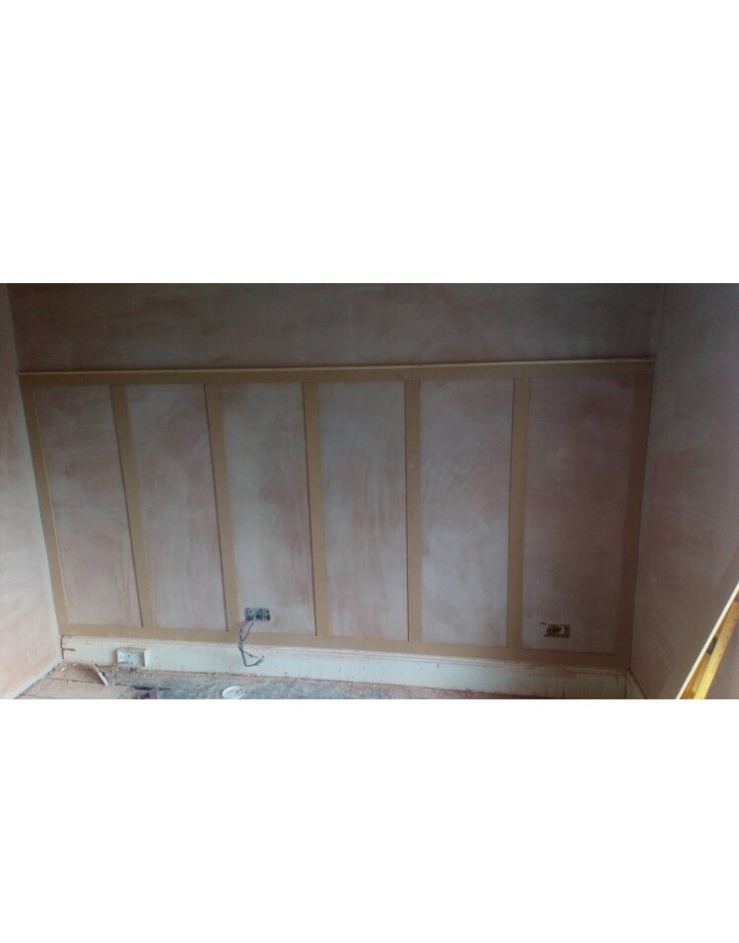 then you measure out and cut using your mitre saw the horizontal strips – sticking these on
We used nails to get a better grip – 6 nails in each strip – 2 top 2 middle 2 bottom
We used a nail punch to get the nails slightly below surface and fill with wood filler – sand any rough surfaces
At this point if you wanted to add a trim or quadrant on the top – this would be attached in the same way
Also just want to point out that we attached it to the top of existing skirting board
That’s it! Ready to paint – yes it’s that easy and that cheap !
We undercoated the mdf with a suitable primer and painted it with 3 coats of farrow and ball modern emulsion (this is the washable hardwearing one ) obviously this is personal preference – ours was because we had it left over from the bathroom 😂🤷♀️
So there you have it – a very basic blog on panelling – I hope it helps a bit / feel free to get in touch on my instagram page or comment on here if you have any questions about it 😬😬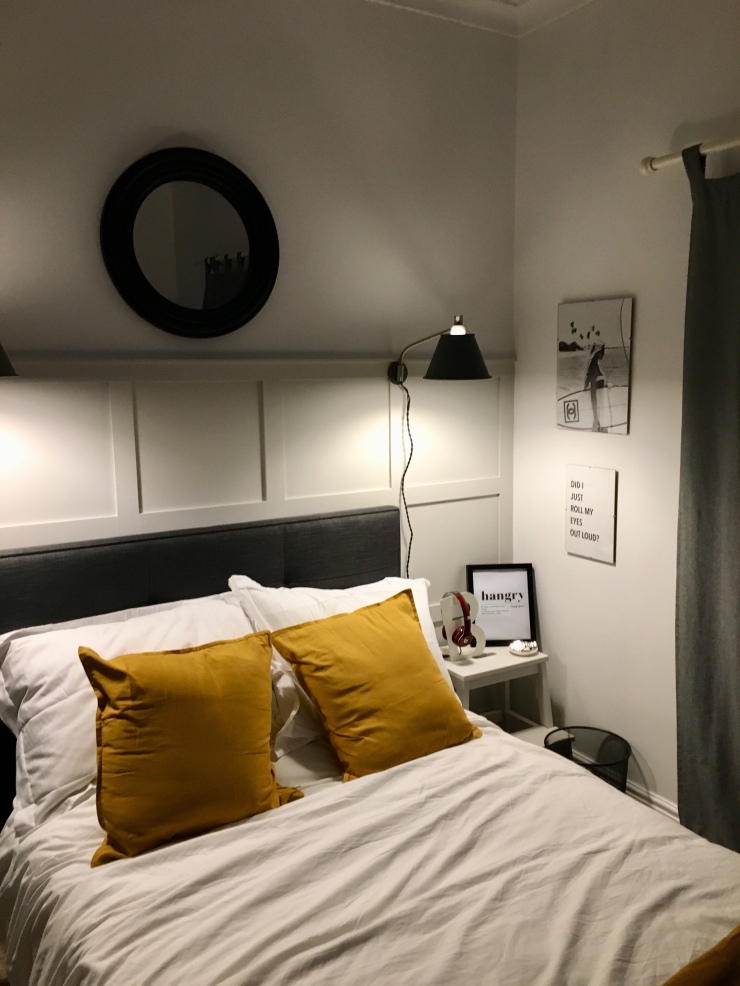

Hi, it’s Doodlepippins from IG. As promised, I read your blog piece on panelling. Wow! I am SO impressed by this. Even my Hubs loves it. I can’t quite believe how easy and inexpensive it is. It looks fantastic! x
LikeLike
Ah I’m so pleased xx I told you lol 😆
LikeLike